Friday, October 31, 2014

52 Week Pick n Mix Challenge - 1980s

Hooray for the 80s! I was born in the 80s, so I cannot actually relate to them at all other than remembering teddy ruxpin and my awesome kitchen set! I was only five when the 80s came to an end, afterall. But, I do love a good 80s pattern on my nails. Everything in the 80s was so bright and funky. So, for today's mani, I went with a simple pattern to represent the 80s on my nails.


I started off with Sally Hansen Peach Beach for my base, then added my design using Nicole by O.P.I. Pros & Confidence and Color Club London Calling. Yay, fun! :D


Here is what Peach Beach looks like on its own. It is a great cream. I painted it on in three very thin coats to get it even, as it is a bit on the thin side.


Make sure you check out what everyone else did for their 80s and/or 3 dark colors manicures! I'll be back with my three dark colors tomorrow!

Wednesday, October 29, 2014

#HePicksMyPolish - Nails Brought To You By My Husband

So, when I heard about this challenge group on Facebook, I thought it would be super fun to bring my husband in on the blog. He is always giving me ideas, so I thought it would be fun to let him pick my polish.

I recently separated out all of my untried (or at least unswatched) polishes and put them in their own drawer, so I handed that drawer to my husband and asked him to pick the colors for my next manicure. After quite some time, he announced he was done and handed me FIVE bottles of polish.

Left to right: essie meet me at sunset, Zoya Zuza, Julep Ciara, Julep Leah, and Julep Missy
I was a bit worried because all of these colors work well together except for essie meet me at sunset. It is the only cream out of them all and the only warm-toned color, so I was at a loss for quite a while. But, I finally figured something out, and I'm quite pleased with how this came out.


I started off with Julep Missy, then added a gradient to three of my nails using Julep Ciara, Zoya Zuza, and Julep Leah. I stamped the peacock feathers onto my nails with Julep Leah using a new plate my mom gifted to me from MoYou London. This image is from The Pro XL plate 05. After that, I added the detail to the feathers using essie meet me at sunset, Zoya Zuza, and Julep Ciara.


Here is Julep Missy by herself. This is a chrome silver and went on in two easy coats. Please pardon the "dents" on my pinkie nail. I was multitasking today and thought they were dry enough for folding laundry. I was wrong. :P


Thank you so much for looking - I'm looking forward to letting my hubby pick colors for next month!

Monday, October 27, 2014

Halloween Manicure with Black Cat Lacquer Six Feet Under

Halloween is almost here and this week's prompt for my stamping group on Facebook is celebrating the holiday! I decided to keep this manicure muted in greyscale mostly because I was inspired by Black Cat Lacquer's Halloween-themed glitter mix, Six Feet Under. It is a milky grey base with tiny silver glitters, black shard glitter, and medium hex glitter. I started of with a grey base using Julep Dendrie and added stamping in black and white using Konad's Special White and Special Black polishes to pull it all together.


The spider webs and bats are from Bundle Monster's plate BM13, and the big spider is from Mash-38.

Here is what Julep Dendrie looks like all by herself. She is a grey cream, and went on in two smooth coats.


Thank you so much for looking and have a great day!

Friday, October 24, 2014

Work Surface Protection For Nailpolish & Acetone

This is a bit of a different post, but I was working on a new mani yesterday and realized I had a secret weapon that I should really share with all of you. It won't help me take over the world, but it does help me keep my work space cleaner and I go through so many less disposable products than I used to. Now before I go giving my secret away, my dad, the chemist, is the person we all have to thank for this little tidbit. I was getting frustrated at the quantity of paper towels, wax paper, and printer paper that I was going through having used all of those things as a way to protect the surface of my desk while I paint and spill all over the place. :D So I called up the person who I knew could tell me what surface I wouldn't be able to destroy with polish and acetone. Dad came to the rescue and gave me this list:
  • Mylar
  • Polypropylene
  • Polyethylene
These are plastics that will not 'melt' from acetone. I went to a local housewares store in search of placemats made out of one of the listed types of plastic, and had no luck. BUT, on my way out the door, I saw a package of plastic cutting mats. I flipped over the package to see if it would list the material and there it was: Polyethylene. BOOM. So I bought those babies and took them home to my desk set up in my "nail nook" under the stairs.

Nail Nook

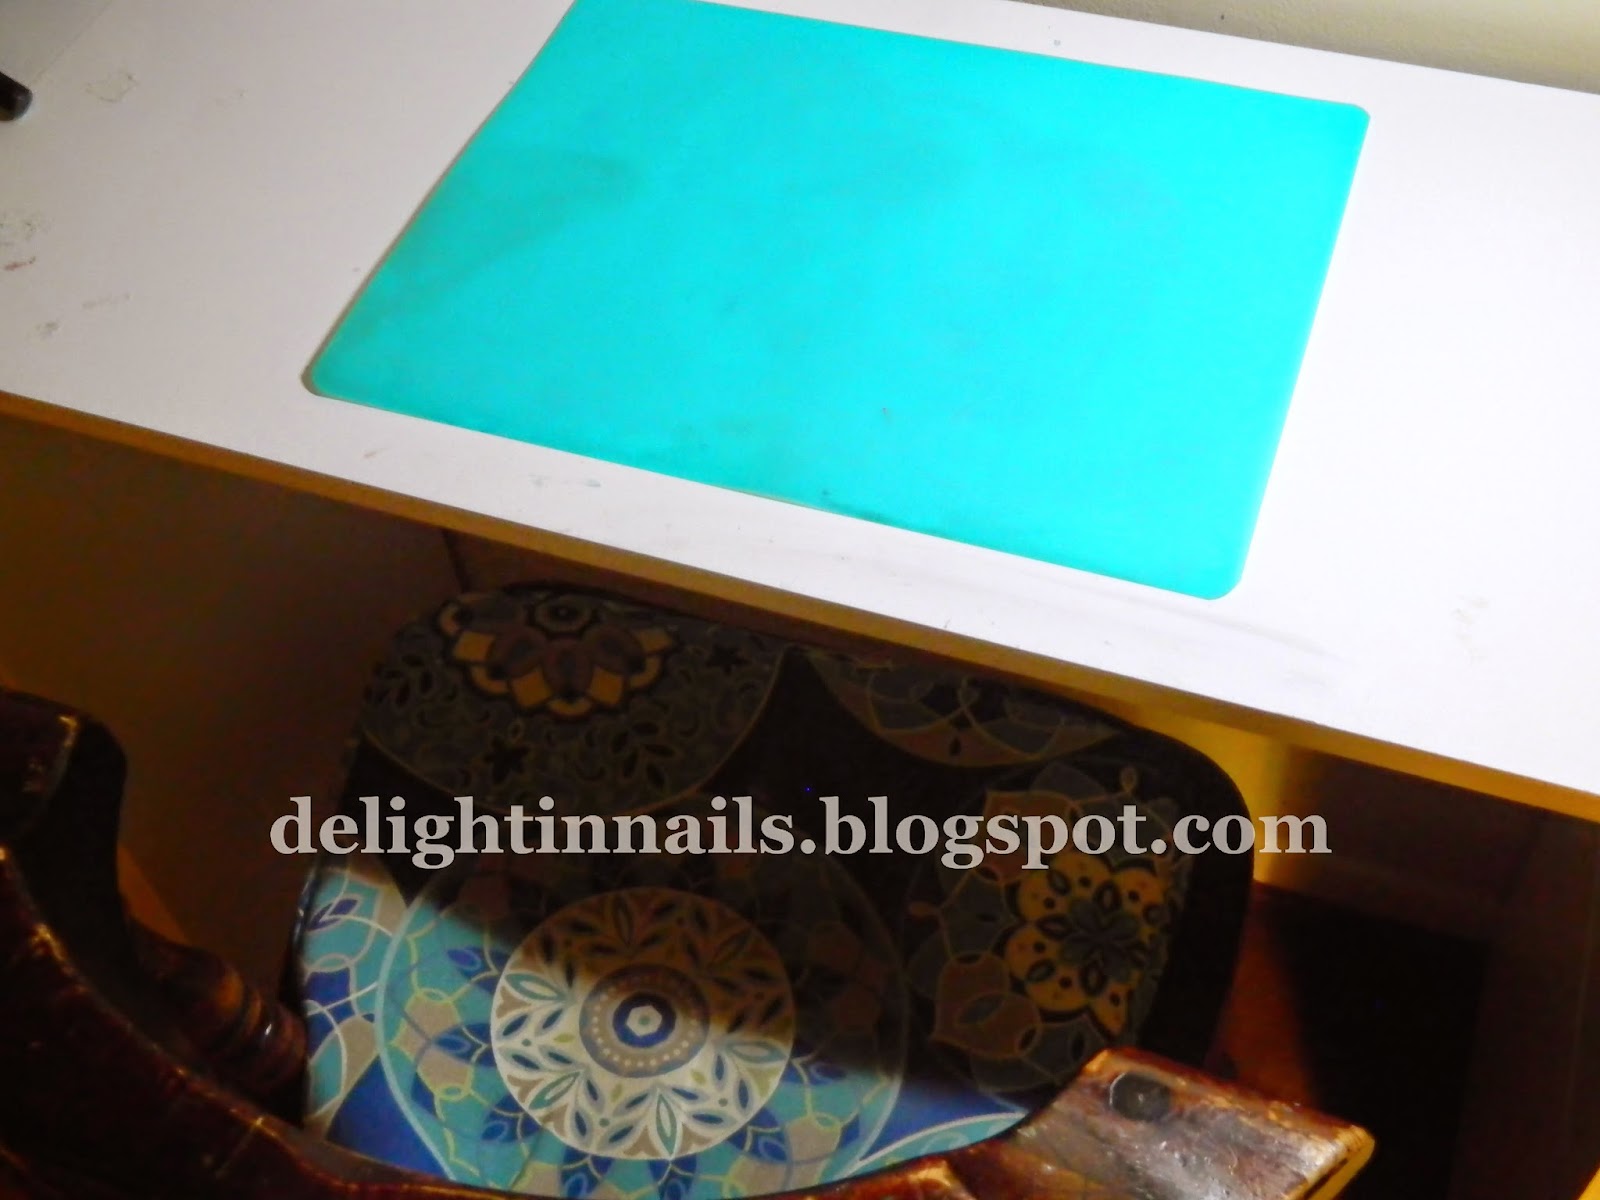
Here is what my desk top looked like (and still does) from all of the times that I was being so careful with acetone, yet somehow it still managed to get on my desk.


Here is what the mats look like and below that is a closeup of the mat I have been using. You can see that it looks a bit dirty. That is actually just from me not using a clean enough paper towel when I was wiping it down with acetone, but I swear it does come clean. :)

Flexible Cutting Mats


These mats only set me back $7 for 4 of them. Considering I haven't touched the other three, it will be well worth it. Here is a link to the ones I bought, but you can pretty much buy anything made out of one of the three materials listed above and be ok. I love that I can just clean up spilled polish with acetone, and have a nice clean (and undamaged) surface again! Thanks, dad! I have been using the same cutting mat ever since and have three left in various colors that I can either use when I feel like redecorating my desk, or save for the kitchen. I hope this helps some of you who are struggling with keeping your work surface nice!

Wednesday, October 22, 2014

52 Week Pick n Mix Challenge - 70's

Hello! For this week's challenge, I used some scrapbook paper that I had lying around as my inspiration. It is just brown paper with dots, so I thought it would be an easy manicure. It turned out that it was easy, but it was a bit time consuming because I had to keep waiting for the polish to dry as I added layers of dots. I didn't wait long enough for most of them, because I'm a busy gal, but you really can't tell too much. :P

Seventies Manicure

I started off this manicure with a brown polish from Revlon's Moon Candy Universe nail polish set. After that, I added my dotting using Wet n Wild Wet Cement, Sally Hansen Mellow Yellow, Barielle Joytini, Julep Francis, and Pure Ice SuperStar! with various sizes of dotting tools.

Seventies Dotticure
Seventies Dotticure

Thank you so much for looking. Make sure you look at what everyone else came up with for this week's manicures.

Monday, October 20, 2014

Breast Cancer Awareness Stamping

My manicure today is in support of breast cancer awareness month, but I have to point out that with all of the awareness being spread throughout the media, no one needs my manicure to help make them more aware of breast cancer. So, let's just call this a cancer awareness manicure. It is in support of all people who have had or will have cancer, and those who have been lost to it. Let's all be more aware of all of the changes in our bodies, and get our annual physicals, and speak up if something is strange, even if it is embarrassing or hard to talk about. And let's all remember that breast cancer isn't the only form of cancer out there. There are lots of people every day suffering from the more rare cancers, and other diseases that don't get any attention at all. Breast cancer research gets plenty of funding already, but I am not trying to diminish the hard work of others here. I just want to give my support to everyone who needs it. :) So, here is my pink manicure.


I do not have a ribbon stamp, so I went with the pink shade that most associate with breast cancer awareness. This is Nicole by O.P.I. Be Ama-Zing!. I did my first stamping with Milani She's So Glitzy using MoYou London Sailor plate 07. I added roses using Red Angel plate RA-115 and Maybelline WC135. It's a really old polish and has no name other than that number that I know of. Here is what it looked like before I added the roses.


Here is what Be Ama-Zing! looks like by itself. It is a perfect girly pink and went on in two smooth coats.


I did this manicure as part of a stamping challenge for Stamp One, Stamp All Ten. Thank you so much for looking today and make sure you check out what everyone else did!

Friday, October 17, 2014

52 Week Pick n Mix Challenge - Texture

So, I'm going to start by saying that I totally hated this manicure. It had nothing to do with the polish or the stamp I used, and everything to do with how awful the nails on my right hand are looking lately. They are downright shabby...and then my photography was pretty bad, too, because I cannot photograph my right hand in my lightbox without contorting all weird. It makes my hand look like it's got rigormortis. I know I'm totally picking myself apart here, but I almost didn't share these because I was so mad about how bad they look in the photos. I guess I will have to go back to only showing my left hand on here. :P Alright enough ranting and on to the nails.

I need to take a moment to be positive about something here, and that something is Zoya Chita. She is beautiful, and sparkly, and textured, and made of magic just like the name Pixie Dust implies.


I felt like adding some simple stamping, and one of my coworkers requested celtic knots, so I used an image from my large Cheeky plate D using Konad Special Black polish.


Well that is all. Make sure you take a look at the other textured/matte nail art for this week!


Wednesday, October 15, 2014

52 Week Pick n Mix Challenge - 1960s + Matte

This week's prompt for the 52 Week Pick n Mix challenge is 1960s + matte or texture. I decided to go with a matte 1960s look for this one. I might show off some previously unswatched textured polish later in the week, too, if I have time. For this manicure, I used a fabric pattern I found online while looking for some 1960s inspiration. I didn't recreate it exactly, but I did try to use the same colors at least.


My base for this manicure is Spoiled I Only Eat Salads. The flowers and leaves were done using Nicole by O.P.I. Pros And Confidence, NYC High Line Green, Pure Ice Vintage Glam, and Konad Special White. After I finished my nails, I added Essie Matte About You. This is a closeup of my favorite nail - my index finger. :)


Here is what this manicure looked like before I mattified it.


Here is what Spoiled I Only Eat Salads looks like on it's own. This is two coats.


Thank you so much for looking, and make sure you check out what everyone else did for their 1960s manicures!

Monday, October 13, 2014

The Four Elements - Elemental Fairies

This is my first time participating in this new stamping group that I joined on Facebook earlier this month. I love stamping, and would like to improve my stamping skills, so I thought this would be a fun group to be in. :) I chose to do my stamping on my right hand, and I'm a bit disappointed in my photos. It is so hard to photograph my right hand with the way my light box and camera is set up, so I will have to work on that. Also, look at how much shorter the nails on my right hand are than on my left! Gah!


Anyway, my idea for this manicure was to do one nail representing each of the four elements, and then to add fairies, like elemental fairies. Everything was going really well right up until I added the fairies. These were on some Red Angel plates that, unfortunately, were not etched deeply enough so they did not transfer well. I really liked this manicure before I added the fairies, though! Here is what it looked like without the fairies.


I used so many polishes and plates on this manicure, I am not going to list them all, but if anyone wants to know about a specific color/stamp, please just comment, and I will let you know what it is. :) Thank you so much for looking - have a great week!

Wednesday, October 8, 2014

52 Week Pick n Mix Challenge - 3 Color Gradient + Pink

Goodness I love gradients! They are just always so pretty! Today I have a purple, pink, and yellow gradient to show off to fulfill both prompts in one manicure. I used COS BAR's no-name purple polish from their Target exclusive two years ago, L.A. Colors Magnetic Force, and Barielle Soul-er Powered. They look even more beautiful together than I imagined. :) After that, I added some stamping using MoYou London's The Pro plate 13 for the hummingbird and flower images with Konad Special Black polish.


Here is the gradient all on it's own. At first, I didn't want to stamp over it, it was so pretty, but I'm happy to say that the stamping only improved upon it. ;)


Here is L.A. Colors Magnetic Force all by itself. It is a coral-leaning, shimmery pink that went on in just two coats.


That's all I have for you today! Later this week I will have some freehand nail art for you if I don't muck it up. Wish me luck!

Here is what everyone else did!